|
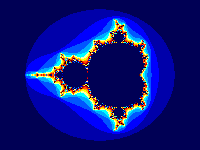
1. Start with 'Big Ben'. Zoom in to any portion. |
|
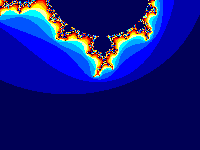
2. For this particular example, the area being zoomed into will always
appear at the center of the image. |
|
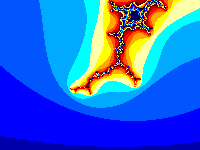
3. As you zoom in, begin looking for a 'bennie', which is a small
replica of 'Big Ben'. In this example, the large bennie at the top would
be a fine candidate, but I chose a much smaller one at the center of the
image. |
|
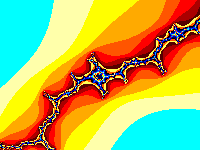
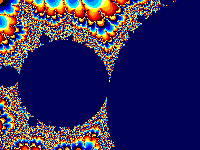
4. Here's the target bennie from a little closer. |
|
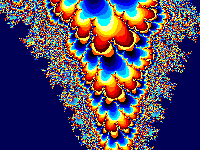
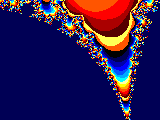 5. Now, zooming in a little closer, zero in on an area that, on 'Big Ben',
would have regular smooth striping, like the sample to the right. Notice
how the image on the left exhibits a great deal of 'feathering' in these
normally smooth areas.
 |
|
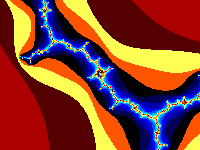
6. Here's a closer view of the 'feathering effect' that all bennies
seem to display. |
|
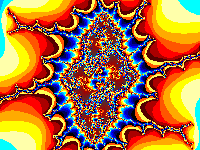
7. Pick one of the tendrils threading through the striping. Notice
a number of lumps or nodules on the thread. By this time we are approaching
the maximum zoom capabilities of some fractal generating software, so, pick
a big nodule to conclude our search. |
|
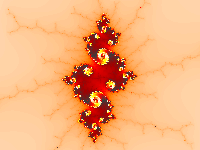 8. Here's a closeup of a nodule. To the right is the same nodule with colors
adjusted to reveal inner structure. We will continue to zoom using these colors.
Now, an astute observer will be struck with the uncanny resemblance of this
image to one of a Julia image that might result from data taken from 'Big
Ben' in an area analagous to our zoomed area on this 'bennie'.
 |
|
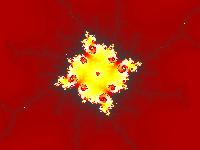
9. We're almost there. Right there in the center is our target. |
|
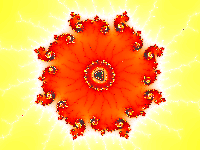
10. Here we are! |


 5. Now, zooming in a little closer, zero in on an area that, on 'Big Ben',
would have regular smooth striping, like the sample to the right. Notice
how the image on the left exhibits a great deal of 'feathering' in these
normally smooth areas.


 8. Here's a closeup of a nodule. To the right is the same nodule with colors
adjusted to reveal inner structure. We will continue to zoom using these colors.
Now, an astute observer will be struck with the uncanny resemblance of this
image to one of a Julia image that might result from data taken from 'Big
Ben' in an area analagous to our zoomed area on this 'bennie'.
